Studio 1
By Niklas Adam (na@notam.no) • 6 minutes read •
Overview of Notam's studio 1
This document contains an overview of the setup and use of Notam's studio 1. It is composed of two parts, with the first detailing the hardware and the second containing a quick first use setup guide.
Food is not allowed in the control- or recording room. Drinks are ok'ed if they are placed on a sane spot like the counter behind. NOT on the studio table or on top of the racks etc.
Technical overview
Our control room and adjucent recording room have 20 female XLR patch points in addition to ethernet and hdmi lines going to the desk of the control room.
The loudspeaker setup consists of 3 stereo pairs, a subwoofer and a simple 5.1 configuration on stands.
The loudspeaker type is a mix of Genelecs and Dynaudio. The first stereo (inner) pair are Genelec 1032A. The second stereo pair is Dynaudio LYD48 and the last and outer stereo pair is Genelec 1030A. The 5.1 consists of 1030A. The subwoofer is a 1092A.
Controls
The controls you'll find on the desk are quite simple:
- RME ARC USB
- turn to adjust volume of outputs in main fader group (Fader group 1 / Red)
- dim
- switch routing of software playback
- talkback
Audio connectivity
In the desk you will find an RME UFX USB audio interface. This connects to your Mac / Windows computer via USB (or Linux Computer in CC mode). When using this, your computer's output channels will be sent to the loudspeakers in different order depending on the routing type selected.
These are preconfigured in RME TotalMix:
- Main (center L-R Genelec)
- Dolby 5.1 (wL, C, wR, Sub, rL, rR)
- Azimuth (5 speakers in circular order + sub)
- Stereo+Sub (wide L-R Genelecs)
- Dyn (Dynaudio LYD48)
- Dyn+S (Dynaudio LYD48 + Sub)
- Quad (wide L-R + Rear Genelecs)
Other routings are possible and can be stored on the empty recall botton USER (snapshot # 8).
Gear list
Here follows the list of gear making up the signal chain in studio 2 for those who are curious.
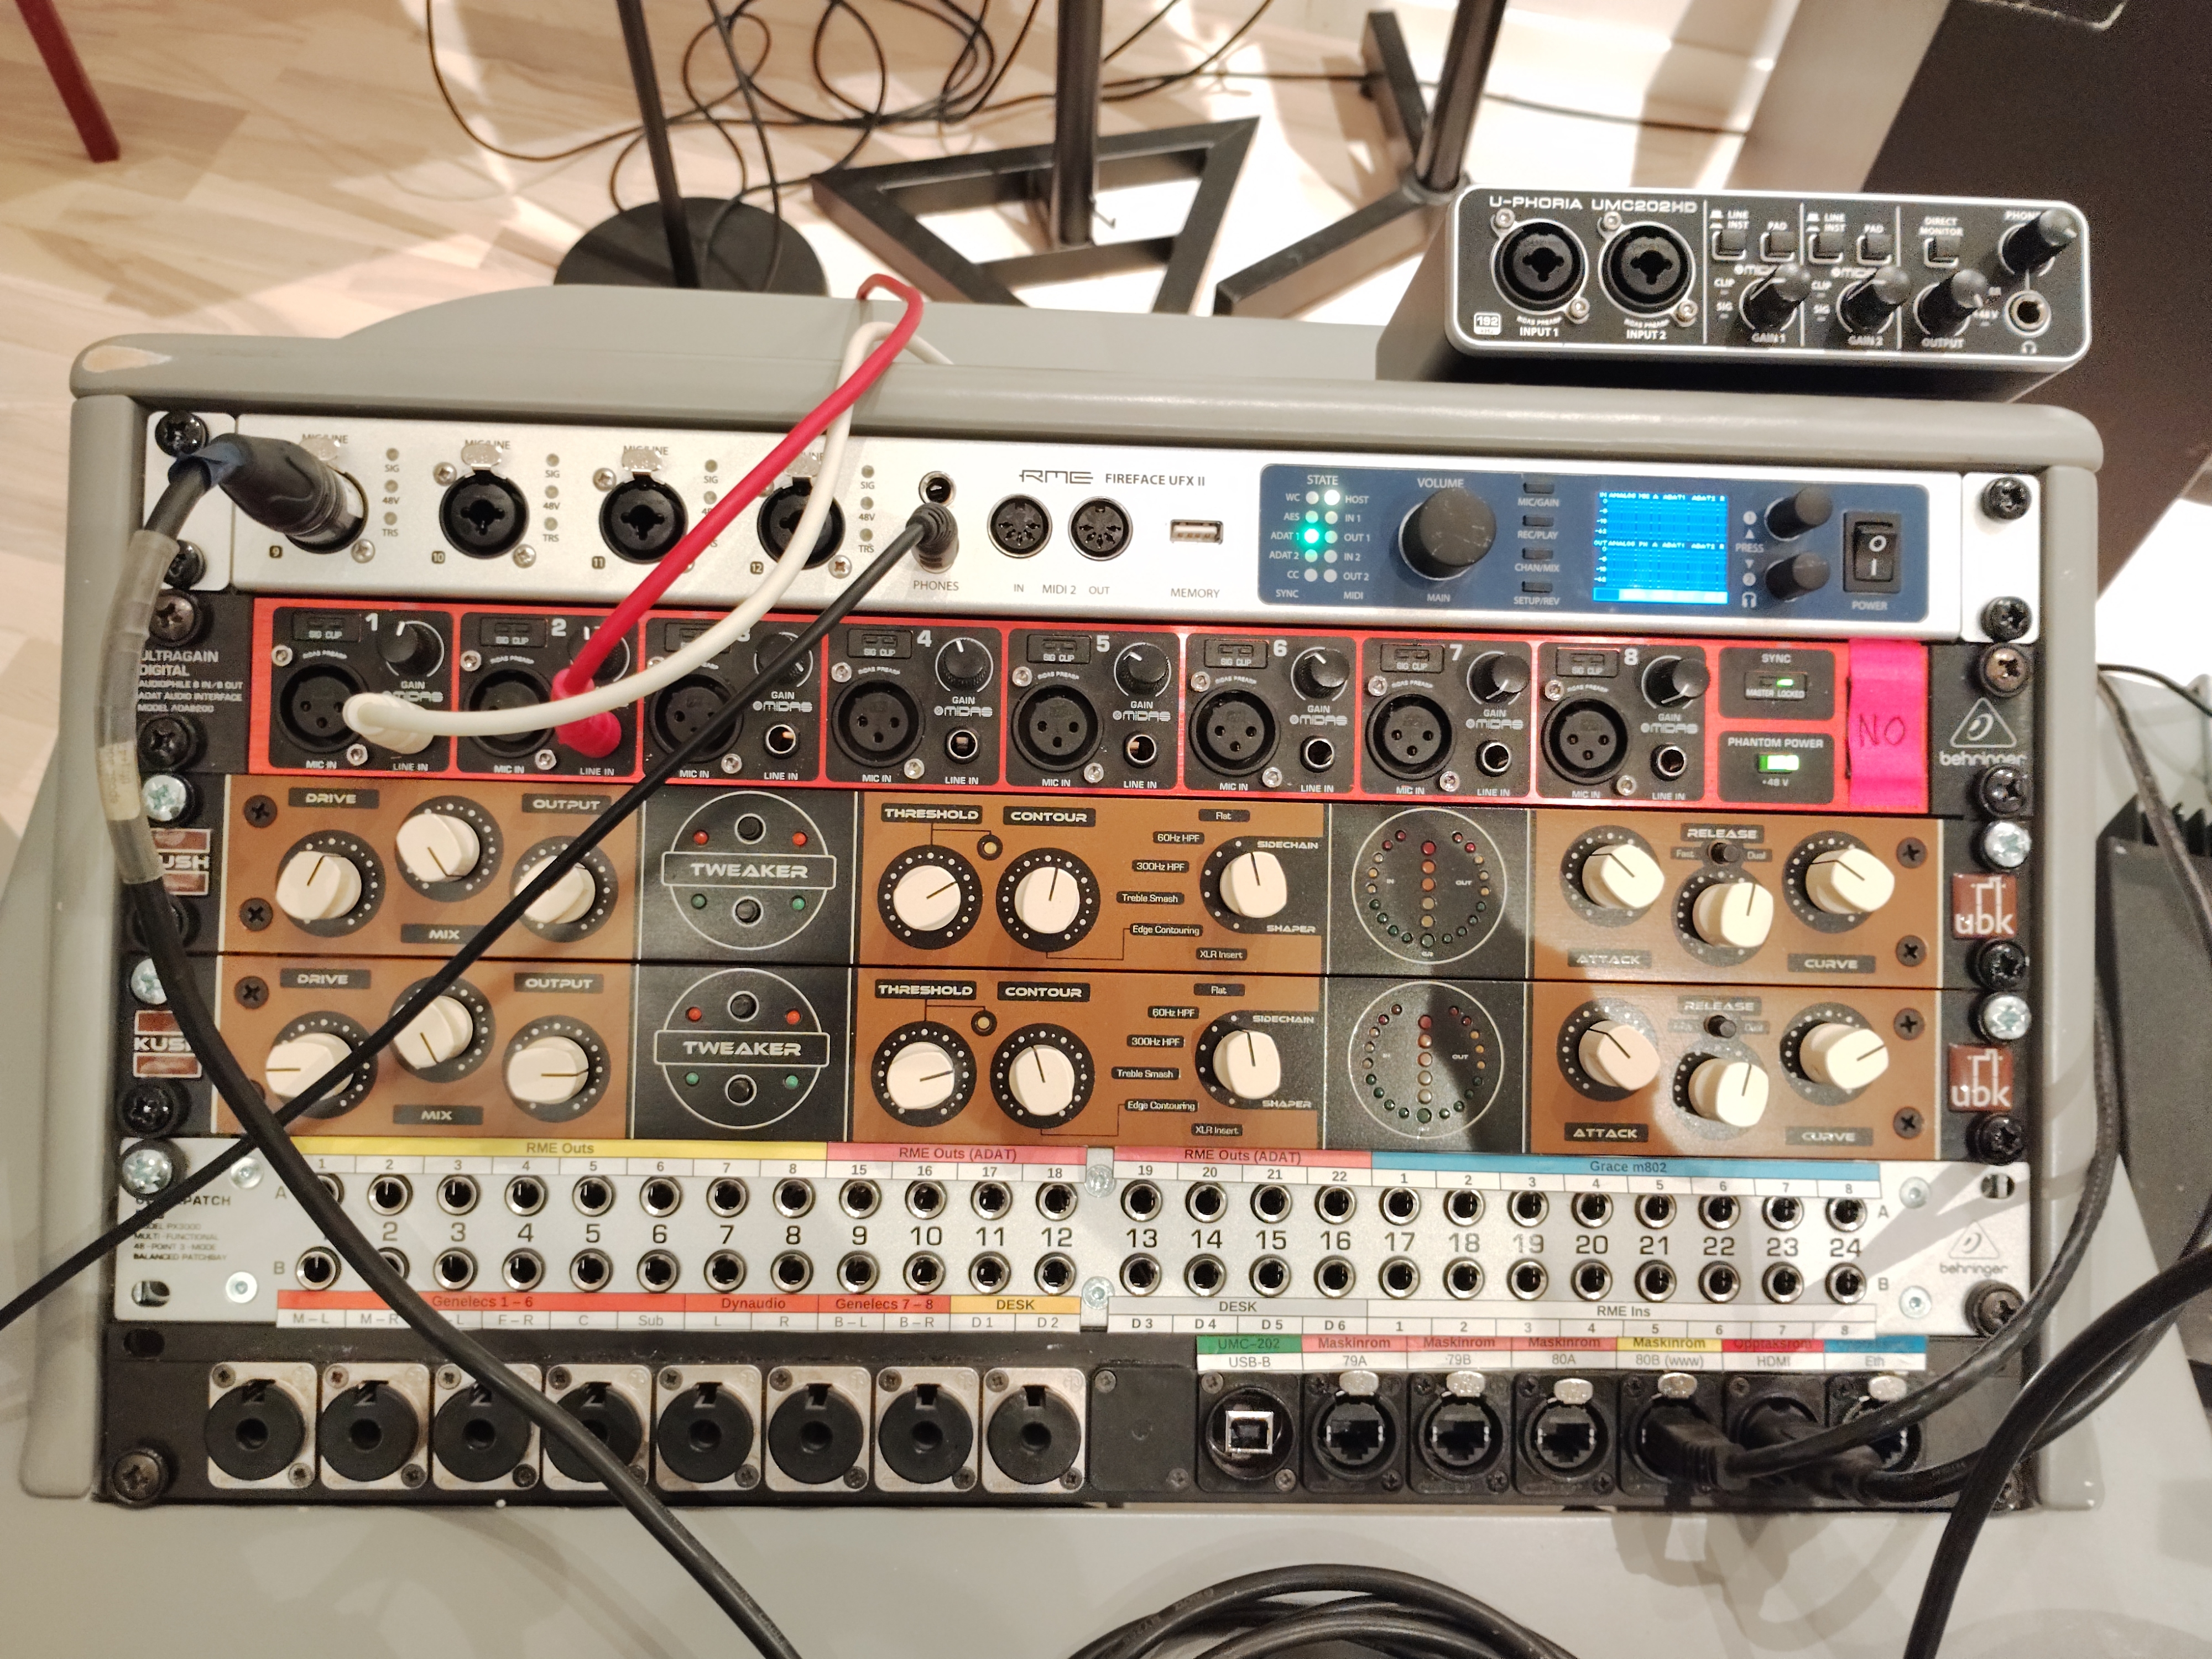
RME UFX II
- The main audio interface in the studio
- More info here.
RME ARC USB
- Volume and routing controller
- More info here
SSL ALPHA 8
- 8-in/8-out AD/DA Converter + 18-in/18-out USB Audio Interface
- More info here
TRS Patchbays
- Our patchbays are configured as a mix of Half-Normal and Thru. The "cart-rack" has clear markings of which is which. The "desk-rack" has not marking because all lines are Half-Normal.
Outboard, microphone preamp and reel-to-reel
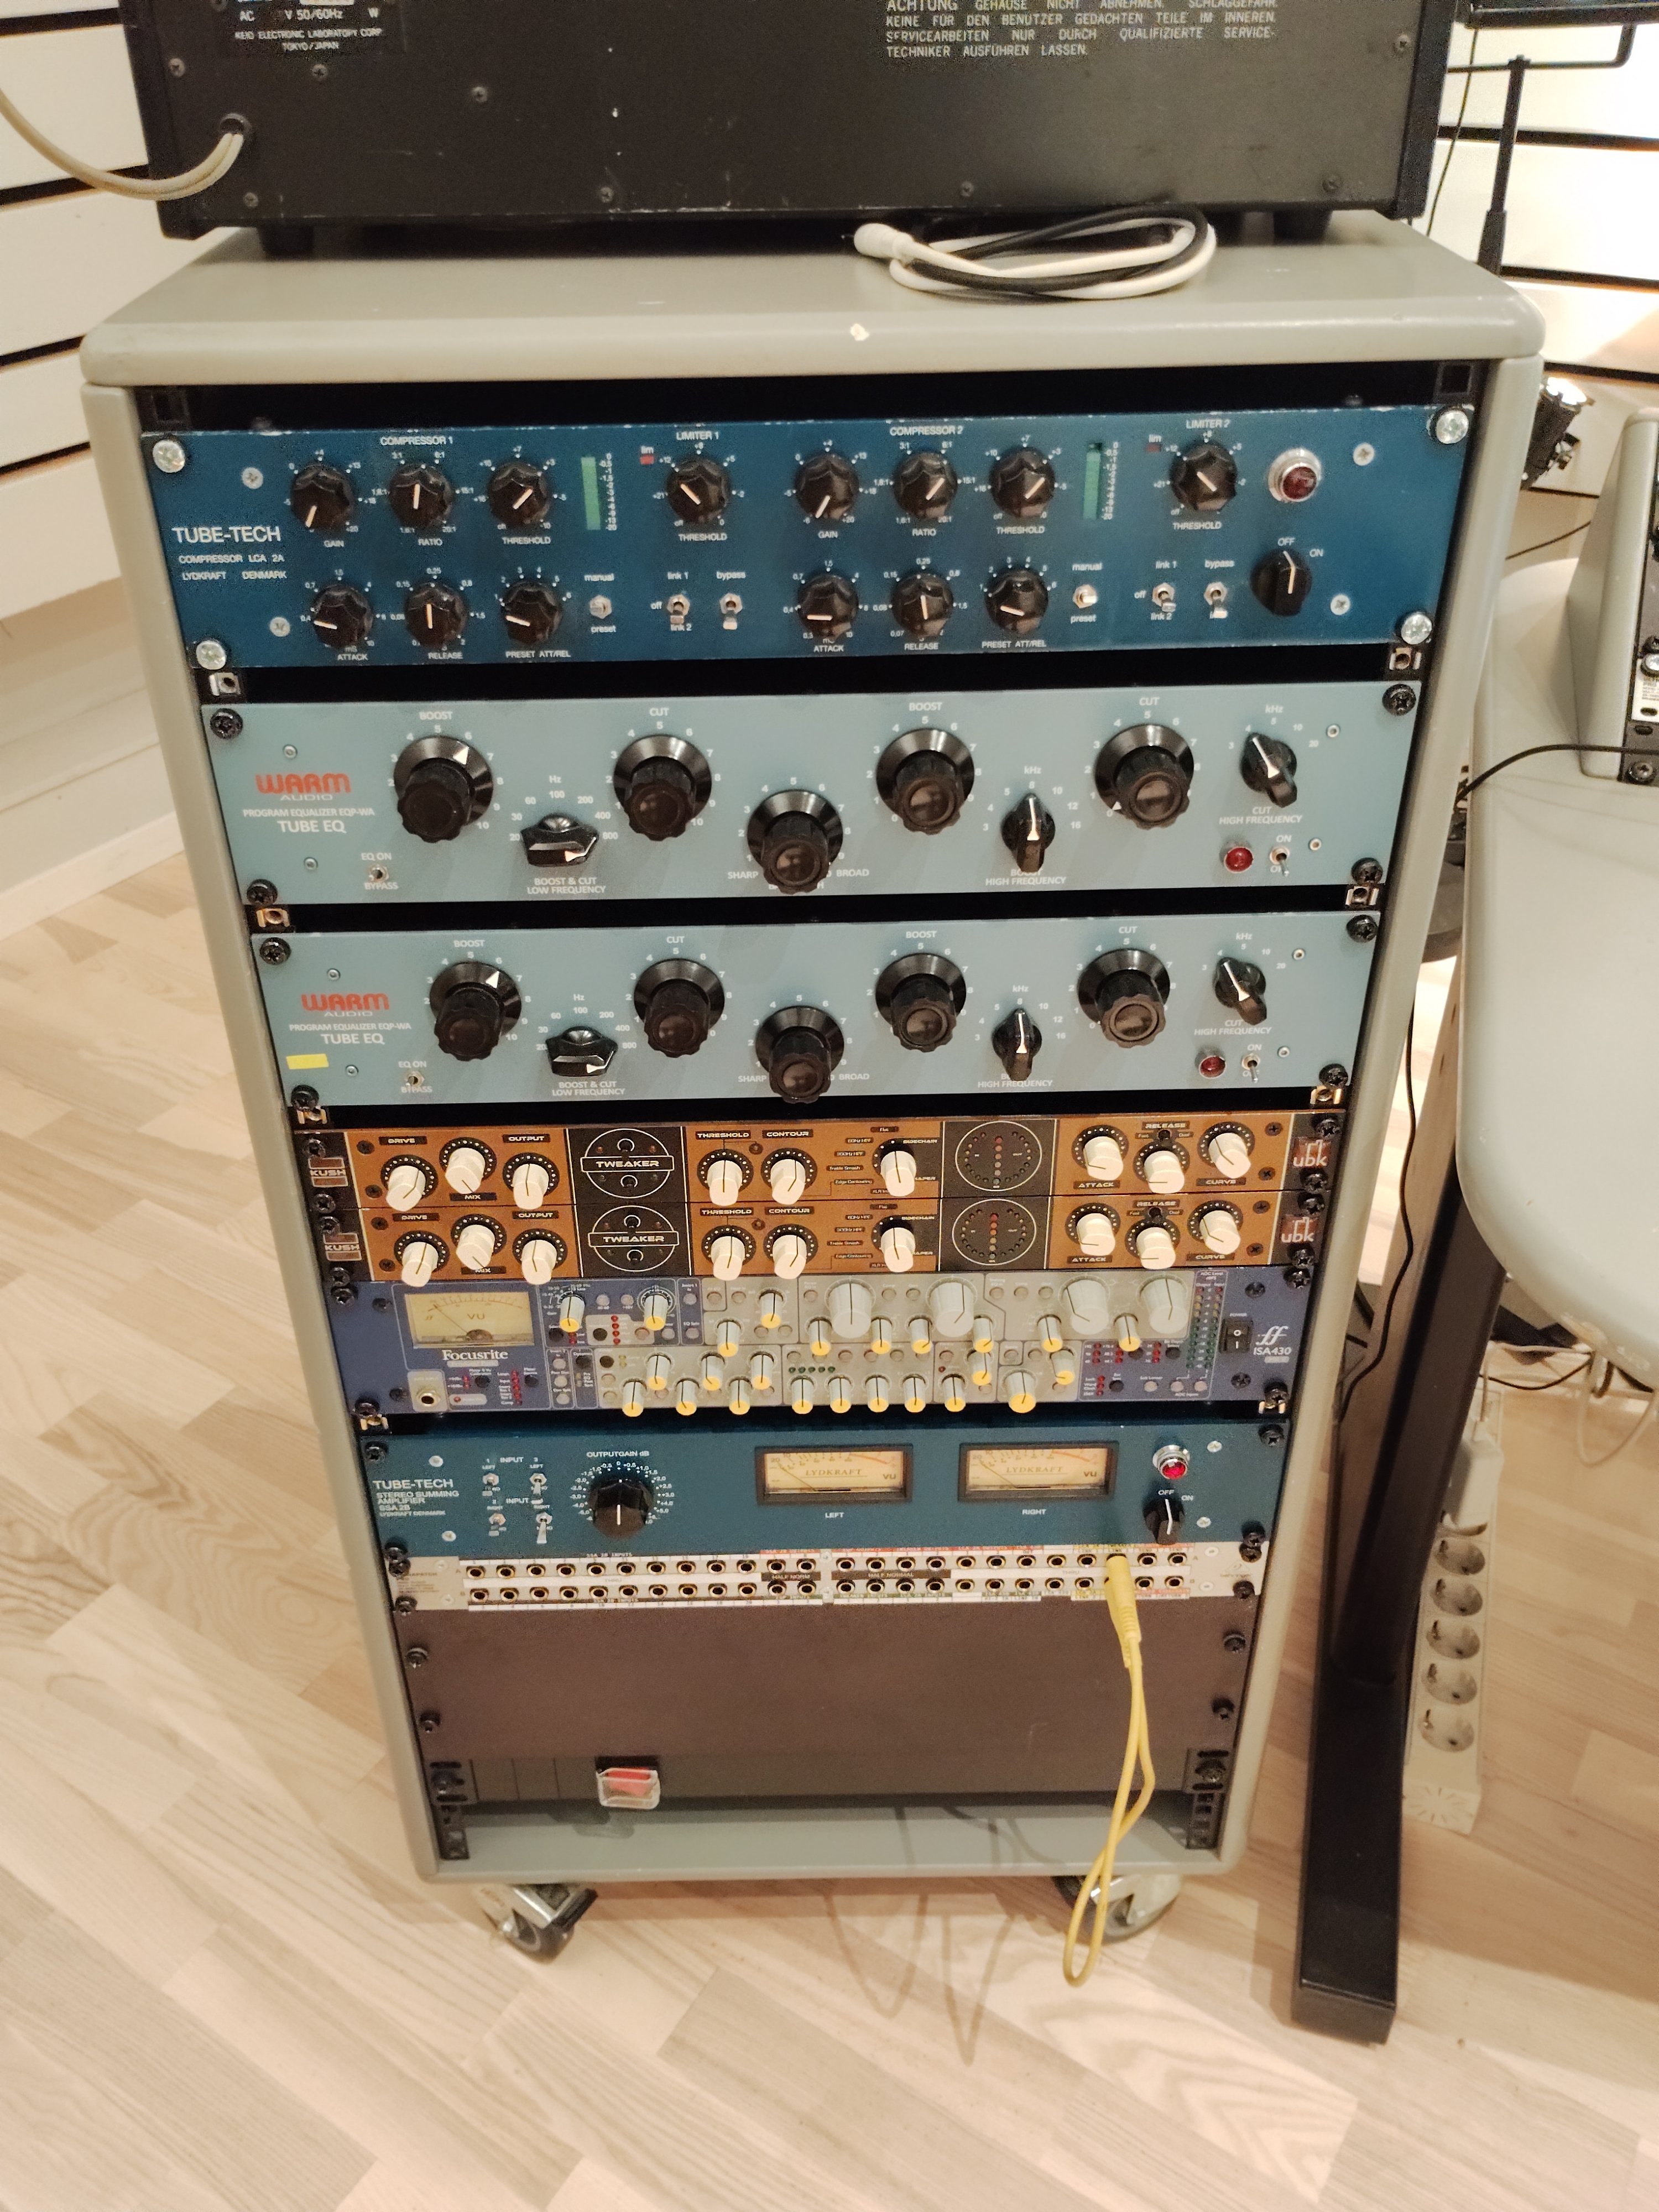
Outboard
- Tube Tech LCA 2A
- Tube Tech SSA 2B
- Kush Audio Tweaker
- Focusrite ISA430
- Warm EQP
Micpres
- Grace Design m802
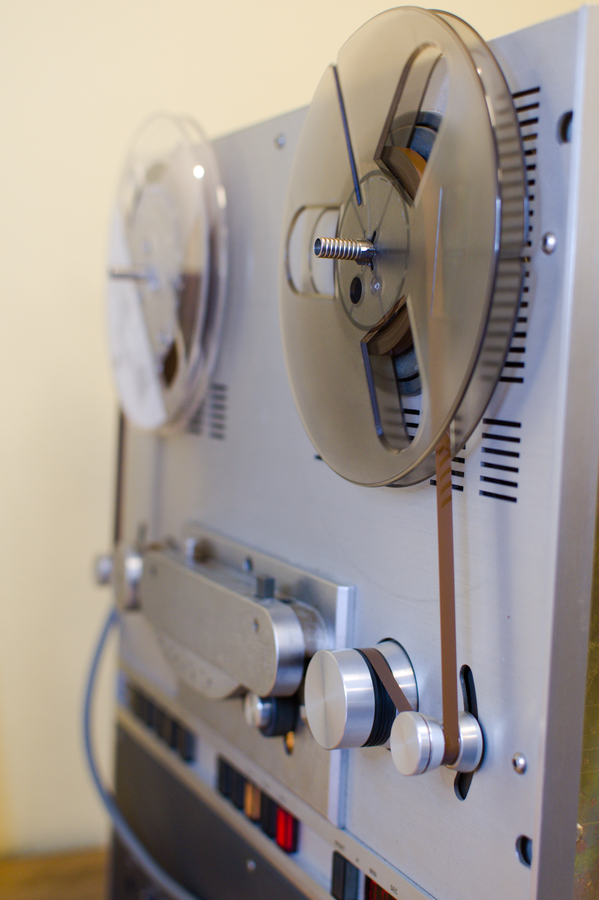
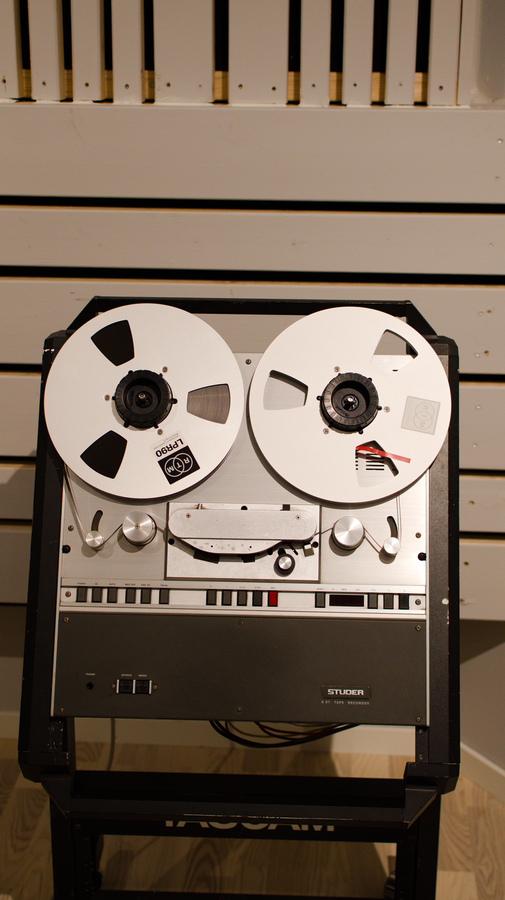
- Tape machine
- Studer B67
Quiet please
Outside the Studio 1 area you will find a "Stille" sign. This can be turned on during recording. Via a mechanical switch on the sign (hanging from a cable) or via OSC on the notam LAN. The ip is 192.168.0.201, port is 9001 and the supported paths/values are as follows:
NetAddr("192.168.0.201", 9001).sendMsg('/recording', 1);
NetAddr("192.168.0.201", 9001).sendMsg('/recording', 0);
NetAddr("192.168.0.201", 9001).sendMsg('/on');
NetAddr("192.168.0.201", 9001).sendMsg('/off');
First time use
Using the Mac Studio installed in the desk
- no actions needed
Setting up your own laptop
Install the RME USB driver at the RME download page.
- (feel free to do this in advance if you are comfortable doing it, if in doubt ask the staff). Of the two available drivers for Apple computers, the Driverkit one is recommended. Once the driver is properly installed and you've rebooted, the Totalmix FX window should pop up.
Some caveats involved with the driver install and Totalmix:
- If Totalmix shows up with a dialog window saying "detected", featuring "yes" and "no" buttons, press "yes" until it goes away.
In the File menu of Totalmix, press "Load Workspace" and load the studio-1.tmws file located here. Click "yes" if it asks you whether to discard all changes.
If you have any questions about the UFX USB setup and TotalMix, please check the troubleshooting section.
Troubleshooting
- If you have any problems, first bring up the Fireface USB settings dialog window (should be found in your dock/task bar/system tray), and make sure the clock i set correctly:
- Clock source should be set to "internal"
Check that nothing is patched on some "half-normalled" lines and therefore sound is not being routed where you'd expect it to. In regards to the default studio setup.
When connecting your own computer
- If the routing to the ADAT channels are not working
- check the ADAT settings in the Fireface USB Settings app. Should not be set to SPDIF
When troubleshooting, please remember to set the studio volume at a low level or mute all speakers whenever you are doing something drastic like restarting equipment or connecting cables. There might be no sound when you are troubleshooting, but when you find the problem or manage to properly insert that last cable you forgot, you might be surprised at how loud you were really playing...
OBS!
We are going to transition into an AVB setup, so expect changes towards driver and routing functionality.